
How to set up your new Mac like a pro
‘Tis the season for gift-giving, and one of the hottest gifts around is a new MacBook or iMac. If you’re one of the lucky ones to get one this year, you’ll want to rip open that box, tear off that plastic sheeting, and get to the good stuff.
Once you’ve plugged in your new Mac, you’re in for a treat, because it’s pretty easy to set up, whether you have an old Mac to transfer data from or you’re starting from scratch. There are a few choices to make along the way, though, and some essential tricks and apps you’ll want to consider, so we’re here to take you through the process.
Here is Cult of Mac’s guide to setting up your new Mac the right way.
Initial setup
First up, don’t throw away that box just yet – Apple’s packaged your Macbook or iMac pretty well for travel, so if you ever need to take your Mac back (heaven forbid) or even just move it to a new apartment, the box it came in is probably your best bet.
If you’ve got a new Macbook, it’ll probably already have some charge, but you might as well plug it in while you set it up. If you’re setting up a new iMac, you’ll need to attach the power cable to the rear of the iMac and plug it into the wall. You’ll also need to attach the keyboard and mouse via USB port (also on the rear of the iMac).
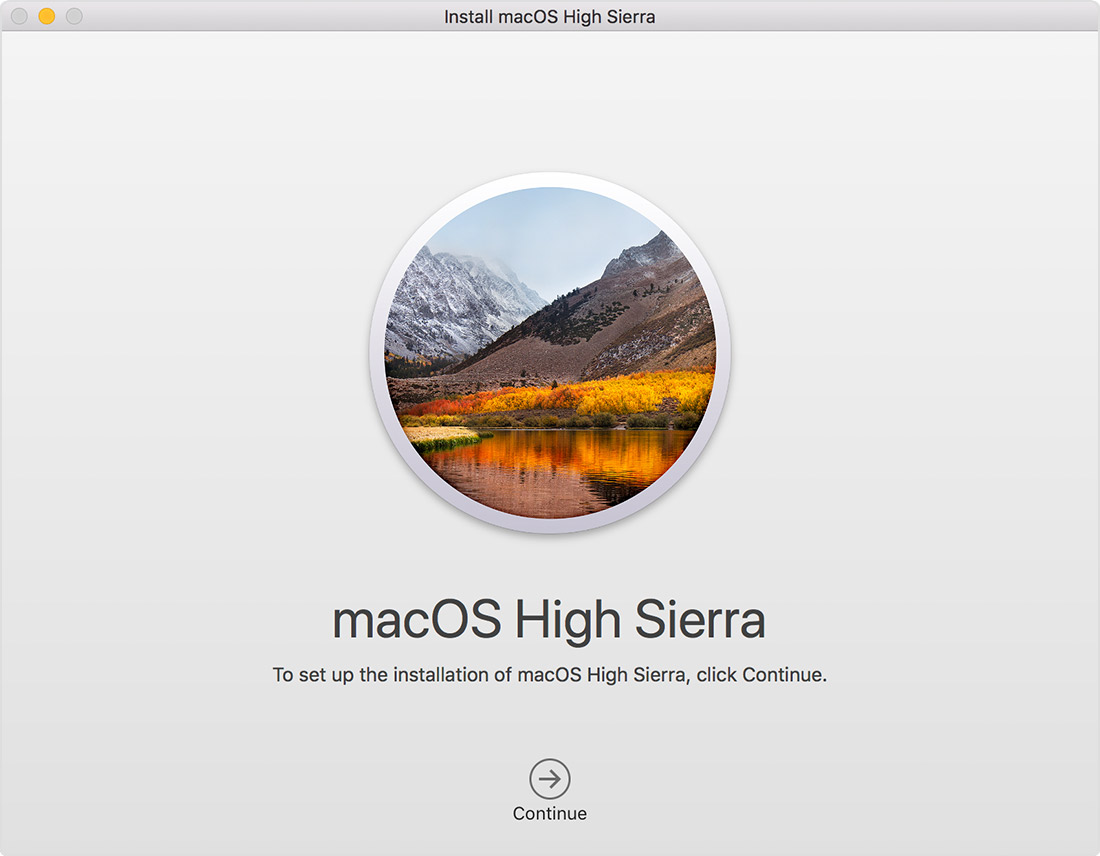
Once your new Mac is all connected, simply press the Power button and hear the glorious chime of a Mac starting up. Brand new Macs will launch Setup Assistant, and all you need to do is follow the instructions on each screen as it comes up.
Setup Assistant
First, you’ll need to choose your country, or one near you, and press Continue. Next, choose your keyboard based on the language you want to use on your Mac.
You’ll choose your Wi-Fi network next if you’re connecting to the internet wirelessly, Ethernet if using a wired connection. Enter your password for Wi-Fi.

Photo: Rob LeFebvre/Cult of Mac
The next screen gives you the option to transfer your data over from an older Mac to your new one using the Migration Assistant app. If you’ve backed up your data from an older machine to a hard drive via Time Machine, you can choose that option. You can run this app at any time, though, so go ahead and skip this step (click on Not Now) if you want to set up a clean, brand-new system on your Mac.
You’ll need to enable Location Services next, and then you’ll enter your Apple ID and password in the next screen. If you don’t already have an Apple ID you can create one here with a click on the Create a Free Apple ID. You’ll need to enter your credit card, too, but it’s worth it – you’ll get Find My Mac and access to the Mac App Store. You can also set one up later if you’re not sure.
Next comes the standard Terms and Conditions – you’ll need to click Agree twice to get past it. Some people even read these things first.
iCloud setup

Photo: Apple
Once you’ve done that, you’ll be asked to set up iCloud. You’ll need your Apple ID here, but iCloud will let you sync your calendars, email, contacts, notes, reminders, and even web site logins with its free 5 Gb of online storage for documents. Click on Enable Set Up iCloud on this Mac and click Continue. You can of course purchase more iCloud space if 5 Gb is not enough – it’s 50 Gb for $0.99 per month, 200 Gb for $2.99 per month, and a terabyte of storage for $9.99 per month.
Next, you’ll want to set up FaceTime and Messages, and you can let the default email stand in the field that appears or insert any other email that you’ve registered with Apple. Check the email addresses you want to use with FaceTime and Messages and then click Continue.
Find My Mac is a great way to make sure you’ll always know where your Mac is (when it’s connected to the internet); another great layer of security should you leave your Macbook somewhere or have it stolen. Click this on and then hit Continue.
Account setup
Now you’ll need to set up an account for your Mac. If you’ve migrated your old Mac’s user folder over, you won’t have to do this, but if not, fill out your name, then create an account name and a password. Make sure you choose a good password that you can remember and has at least eight characters, including capital letters, numbers and special characters. You’ll also want to Allow My Apple ID to Reset This User’s Password and Require Password when logging in, at least at first until you figure out the auto-login features later.

Photo: Apple
You’ll want to select your Time Zone next – it’s automatically detected if you agreed to turn on Location Services earlier, and will adjust if you travel with your Mac. You can also just choose your Time Zone manually and click Continue. Then, you’ll need to agree to Send diagnostics and usage data to Apple and Share crash data with app developers. Might as well do both and click Continue.
Finally, you can register your new Mac with Apple. You can skip this, too, but I tend to just register my Macs with Apple in case I need any support later. The worst that happens is that you’ll get some Apple-flavored marketing emails.
Click Continue on the final Thank You screen and you’re ready to start using that beautiful new machine.
Essential Mac tweaks
Sure, you can use your Mac right “out of the box,” but there are a few things you can do to ensure a more pleasant experience. Here are a few of the most essential.
Once you’re past the initial setup, click on the Apple menu in the upper left of your Mac’s screen and then click on App Store. The Mac App Store will launch, and you’ll want to click on the Updates tab at the top. If you have software that needs an update, it’ll show up in the list there. It’s typically best to keep all your software up to date.

Photo: Rob LeFebvre/Cult of Mac
If you’re coming from a really old Mac, then you may find the scrolling on your new Mac confusing. A few years ago, Apple switched the direction of the two-finger trackpad scrolling to make it match touch-screen scrolling: up means up, and down means down. It will feel weird at first, but give it a while before you decide whether to make the switch or not. If you do decide that you can’t live with it, then you can switch off Natural Scrolling in the System Preferences app. Click on the Trackpad icon in System Preferences, then un-check Scroll direction: natural. This will make your two-fingered swipe down on the trackpad work like you expect, rather than try and emulate an iOS touchscreen, which is just horrible.

Photo: Rob LeFebvre/Cult of Mac
The Dock can use a few less icons as well, so click and drag the ones that you don’t want off the Dock and hold them until you see the Remove option show up. Click on that and they’ll poof away. If you want to put any apps back in the Dock later, just drag its icon to the Dock area until the other icons move out of the way. Let go and it’ll stay there. You also might consider disabling the Dock magnification feature, which looks cool, but ends up getting int he way of accurate clicking. Head into System Preferences, click on the Dock icon, then uncheck the Magnification checkbox.
Another feature you might want to disable is Autocorrect. It can be annoying when you’re typing to have your Mac fix typos you don’t want it to fix. Drop into System Preferences, click on Keyboard, then the Text tab at the top of the window. Uncheck the Correct spelling automatically checkbox. You’ll still get red lines in Mail app and other word processing apps, but your Mac won’t change anything for you without your say so.
Essential Mac apps

Photo: Apple
Sure, there are a ton of apps out there, both general and specialized, but there are a few that all Mac users should be aware of. Here’s a short list of some of the best apps you should check out
- Little Snitch: OS X already has a powerful firewall protecting your computer from inbound connections, but Little Snitch adds outgoing firewall protection to OS X. This lets you control which apps have access to the Internet and thereby potentially put a block on malicious software or just stop software from “phoning home.” Little Snitch can be purchased for $29.95 from its own website.
- Pages, Numbers, Keynote: Originally one full office suite called iWork, these three $20 apps make word processing, spreadsheets, and presentations more easily and with much more style than Microsoft’s ubiquitous Office. They even export to more PC-friendly filetypes with ease. If you must have the best compatibility, though, you’ll want to consider Microsoft Office 365 for Mac, which will run you $10 per month or $100 per year.
- VLC: Your Mac’s support for video and audio files is pretty good but there’s still a handful of files that catch it out. The solution is to use VLC, which is an entirely separate player application that supports just about everything. It’s a free download from the developer’s website. (See also the free of charge Windows Media Components for QuickTime add-on, which brings support for viewing Windows media files to OS X, and Perian, which adds support for various other media file formats to QuickTime and is again free of charge.)
- 1Password: 1Password on the Mac acts as your personal vault for storing sensitive information like passwords and credit card numbers. Not only can you store your logins and have them automatically filled in when browsing online, but 1Password will encrypt your database to keep it protected like Fort Knox.
- Alfred: This lightweight launcher utility makes operating a Mac delightful, and there’s plenty of available plugins for fine tuning your experience. Don’t let the cute hat fool you, Alfred doesn’t mess around — it gets stuff done.
- Launchbar : Another great launcher app, easier to use, but with less tweakability.
Enjoy that new Mac
Now that you’ve got it all set up and stocked with the best apps, your new Mac is ready to go. If we’ve missed anything you typically use to set up your new Mac installs, let us know in the comments below.
Additional reporting by John Brownlee and Charlie Sorrel.